Tissue Microarray Staining
Understanding The Tissue Microarray Staining Process
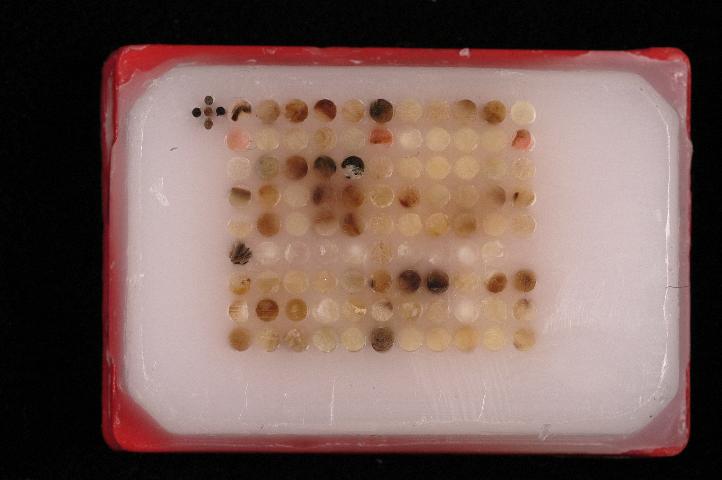
The tissue microarray technique has been valuable for a high-throughput experiment of several cells. The technique has also been used in the analysis of protein cell lines, cancer and expression patterns in normal human tissues. Tissue microarray staining is another prominent application of TMA. Apart from applications such as frozen tissue array, it can help to analyze the cores of cells derived from microscopically retrieved items.
It can retrieve cells and place into a single recipient tissue microarray block. It is important to know that the size and number of cores found in a tissue microarray block can vary. It can vary from about 42mm to several hundreds of 0.6mm cores. The huge amount of information can be retrieved is one of the great benefits of using TMA strategy.
By using a single immunostaining protocol TMA will be able to prevent analysis variability. Tissue microarray staining is also a great process under the TMA technique to help you retrieve vast information. During the tissue microarray staining process, it is only restricted amount of items that are needed. This will help for the complete analysis and experimentation of huge patient cohorts.
From a tissue microarray block, there is every possibility to cut out approximately two hundred and fifty consecutive sections. This can be used for tissue microarray staining to determine certain protein expression styles. It can as well be used for immunohistochemical staining of two hundred and fifty different antibodies. For more information click here.
A Perfect Tissue Microarray Staining Program:
This simple microarray staining program will help you understand how the process works. With the same reagents, you can carry out this process in a manual setup.
1.The first step is to rinse in wash buffer
2. For five minutes, it will be a great idea to carry out incubation with a special block
3. In the wash buffer, you can rinse again
4. For thirty minutes, go ahead to carry out incubation with major antibody
5. In wash buffer, you will have to rinse twice again
6. In another thirty minutes, go ahead to do another incubation with peroxidase-polymer
7. Rinse for another two time in the wash buffer
8. The development should be made in a special solution
9. In the wash buffer, go ahead to rinse for two times
10. For five minutes, you will have to counterstain. This should be performed by using a progressive staining technique. There is no differentiation needed and the intensity will depend on time. If you are using a regressive staining method, then differentiation is needed. This will help to get rid of excess dye from tissues to build the structure.
11. Go ahead and rinse in tap water
12. For one minute, you can rinse in lithium carbonate water
13. For another five minutes, you can rinse in tap water
14. Slides are coverslipped and dehydrated in graded ethanol.
Conclusion:
The process may look comprehensive and complex, but following the simple steps in this content will help you understand the logic. It is an amazing method to help you achieve perfect microarray staining process. It will also help you understand how tissues can pass through frozen tissue microarray staining.